

Vehicle purchased! Prepare for conversion. Let’s do it. Or not? Because if you’re building a camper, it’s best not to start the project barefoot. Trust me, I speak from experience. This ends up causing a lot of frustration and a lot of delays. By thinking about the layout of my camper ahead of time, I was able to avoid a few things. Finding information and inspiration, making choices, and sometimes getting overwhelmed. These are all part of the process, but don’t skip this step. You’ll thank me for it later.
Rules, there are always rules.
When you consider the layout of a camper van, the first thing is to determine your own needs and desires. When you go out in a camper, what do you (and your travel group) think is important? Do you want to take a hot shower indoors and/or have a proper dining area? How many sleeping places do you need? Are you prepared to change the bedding every day? It can sometimes be difficult to figure this out, especially if you don’t have much (or any) camping experience yet. In principle, you should already have thought about this, because your needs often partly determine what kind of vehicle you buy. If you really don’t know, then go ahead and rent a van (like ours) for a trip!
Before you fully immerse yourself in the design, it’s crucial to know what is legally allowed. The rules in Belgium aren’t too bad, but most importantly, they aren’t always clear and transparent. You won’t be the first person to fail to get certification because something is missing or the inspection is difficult. In this blog, I can give you some tips, but be aware that the rules may change constantly. So, make sure to research the current regulations regarding conversions in Belgium on your own. It goes without saying that Liesellove will not be responsible for any issues that arise during the construction process under any circumstances.
If you ultimately want to get your vehicle certified as a camper van, the layout of the camper van must meet many conditions. Currently (January 2022), the following points are involved:
“A camping trailer (Belgian registration type: SA or VC) is a vehicle of category M, and its living area is equipped with at least the following facilities:
In addition, your vehicle must also comply with other legal rules, such as payload, emergency exits, access through the cab, and so on. Again: check and double-check these rules.
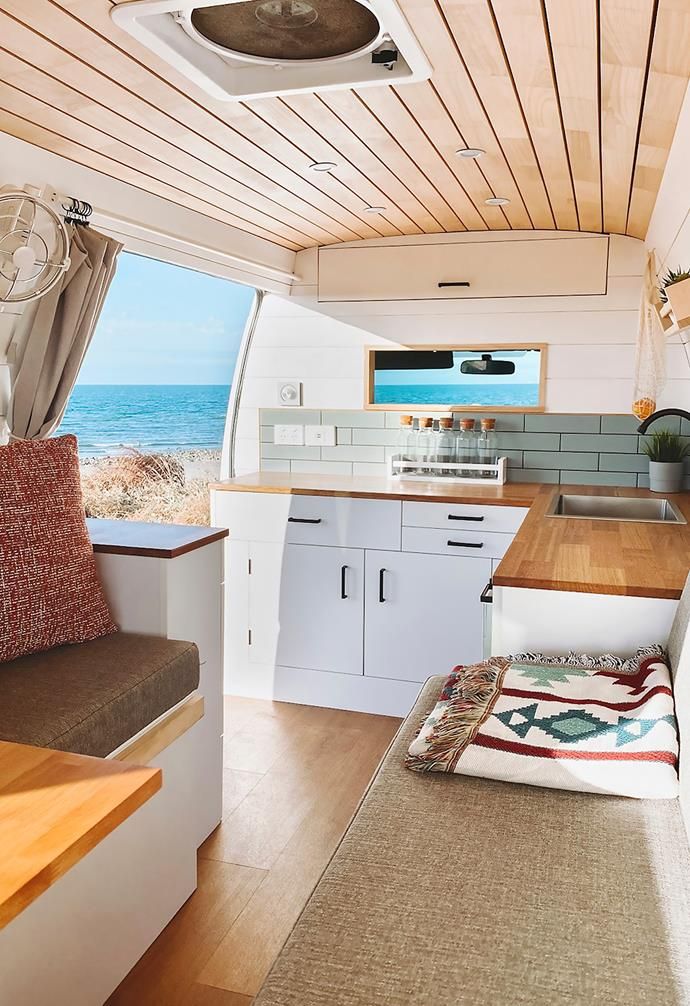
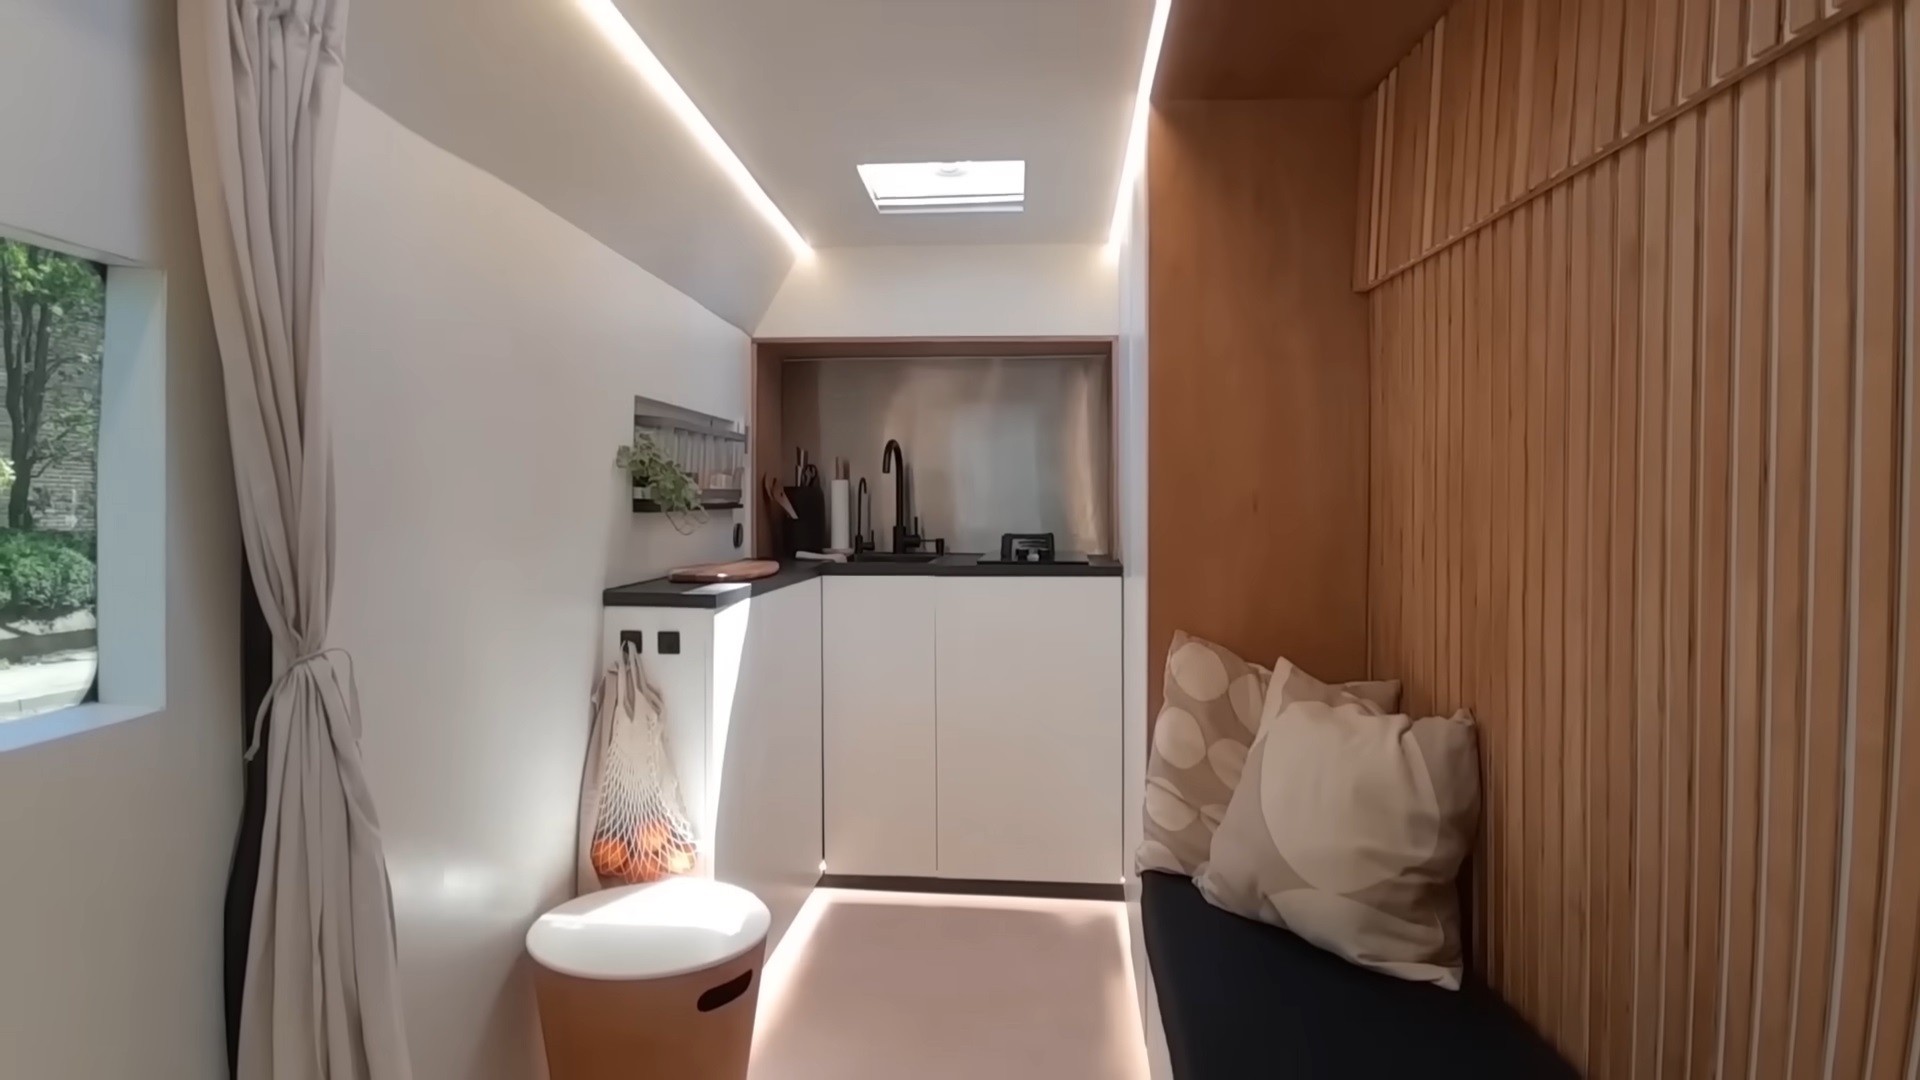
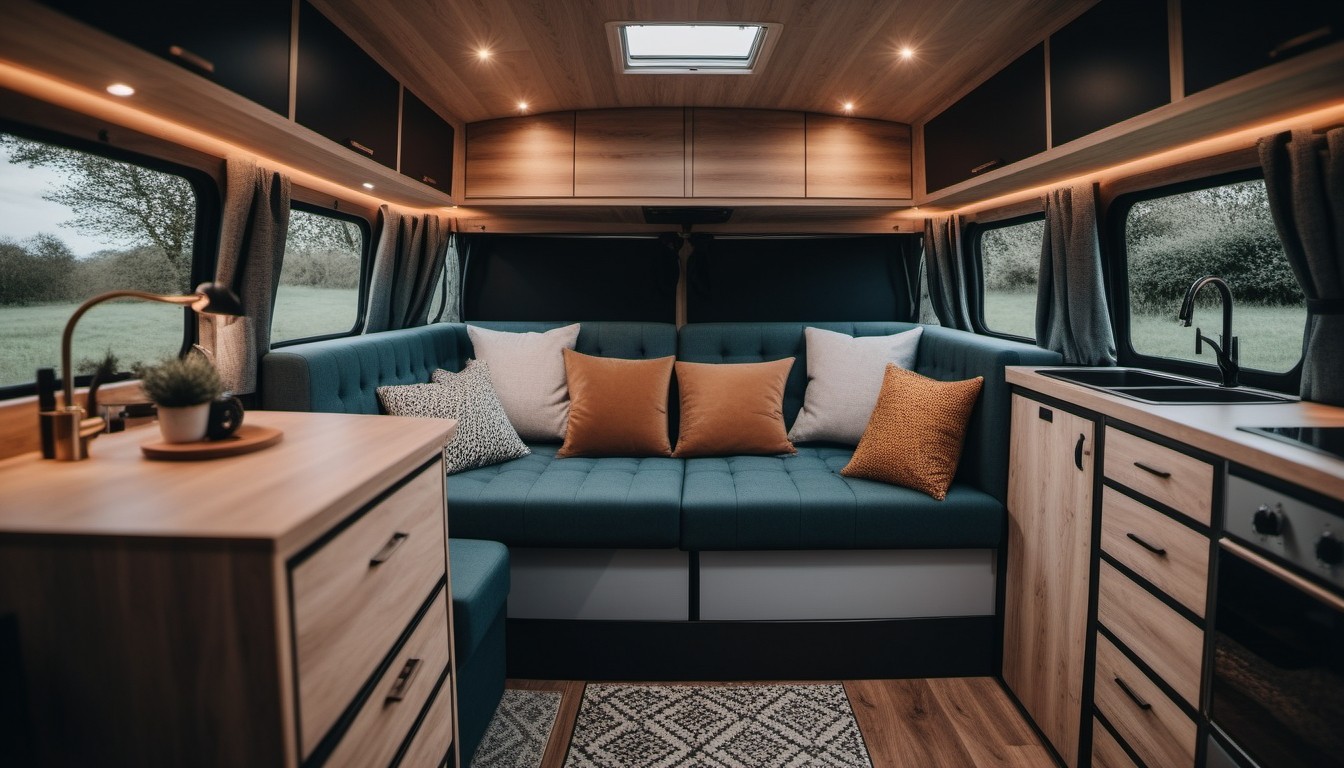
Designing a Camper Van Layout: Tips for Drawing a Bus
Budget
As mentioned before, it’s very important to have a deep understanding of your own needs. It goes without saying that, in addition to these needs, the budget is also a rather decisive factor. You might want a lot, but if the available budget is small, it may be difficult to achieve. On the one hand, you spend part of your money on buying the vehicle, and the rest on furniture and any costs related to certification and registration.
If you’ve already bought the vehicle but don’t know how much you can spend on the conversion, I suggest you determine that now. Keep in mind that otherwise, the costs will quickly get out of control, and you may make wrong choices throughout the process. After extensive research, we set a budget of 10,000 euros for the conversion. This is much more than we initially planned before we bought the bus.
Important Questions You Should Ask Yourself
After determining the budget, you’ll identify some typical camping items. Answering the following questions will take you a long way in preparing for the conversion. Answering these questions will really help you create a drawing for your bus.
Drawing a Camper Van Layout Sketch
Once you’ve determined your budget and needs, you can start designing the camper van layout. Make sure you have the correct internal dimensions of your bus. You can usually find this on the manufacturer’s website, at least for more recent vehicles. But the most fun thing is to measure everything yourself. Yes, a difference of 5 centimeters can really make a huge difference in a camper van conversion. So, pay the necessary attention to this.
Then, you can draw a complete layout according to your needs. Maybe you’re not that creative, and you know what you want to do in your bus but don’t know how to do it in a good way. There is a lot of inspiration available online. I’ve collected some great examples in my Instagram guide and pinned them. If you need some inspiration, be sure to take a look.
To ensure that your sketch isn’t in vain and is realistic, you also need to know the certain dimensions of the things you want to integrate into the bus. Unfortunately, the necessary research to find the answers to this question is part of the process. But do it because you’ll end up with a usable sketch of the camper van layout. Then you can incorporate it into the final plan. In turn, this plan is also important for further preparation and the implementation of an effective conversion.
Important tip: Don’t forget to leave space in the layout for items like the water pump, batteries, etc. This will take up more space than you expect. Taking this into account in the design will save you a lot of trouble during the conversion process. This is a rough sketch, but it will help you figure out what you like and whether you have all the facilities you need on the bus.
To really understand the layout, you can divide the van with tape and cardboard (or other objects). This way, you can really feel whether the layout is effective. Eventually, I came up with the final sketch, which I then converted into the final design.
PS: If you can’t actually measure your bus yet, you can make a sketch based on your estimates. But don’t forget to measure everything before doing the final design.
Camper Van Layout Design

Final Design
Once you know what you want, draw the final design. You do this to scale, and everything must fit perfectly. You can do this the traditional way with a pencil and paper, but nowadays you can also use online programs. Since I’m into digital stuff, I drew the final layout on my computer. The important thing is that now everything is drawn to scale. For the layout, I used Vanspace, a program designed to organize vans. You’ll end up with a realistic drawing of your bus.
Setting Up a Camper Van
Don’t get lost in the details, but make sure that all the general aspects of the camper and the things that are important to you fit on the bus. Think about the bed, the resting area, the kitchen, and so on. You can still add extra things later, and the details about what the cabinets should look like aren’t that important yet. Consider safety when planning the layout: think about the weight distribution so that not all the heavy items are at the back of the bus, for example, and consider the location of the gas/LPG. Don’t forget that you need a clean water tank and a dirty water tank for the water. Both take up quite a bit of space, and the weight of everything must be within 3,500 kilograms.
In our design, I already took into account the space occupied by items like the batteries. I just didn’t draw this on the plan because my drawing skills aren’t very good. But if you have detailed records of everything, the conversion process will be easier. Especially when someone else is going to help you but they can’t understand your ideas. In our case, this sometimes led to some arguments and discussions. If I had to do it again, I would also draw detailed plans of all the cabinets, bed frames, etc. in the end.
Is the design completely finished? Great, but hold your horses before you really dive in. In the next step, you’ll make a step-by-step plan. I didn’t do this at the beginning, and as a result, I wasted a lot of valuable time. But one experienced woman is worth two, so at some point in the process, I made a plan. I’ll share how it worked in a new blog soon.